How to Grow Microgreens Indoors: A Simple Beginner Guide
Learn how to grow microgreens indoors with trays, seeds, light, watering and harvesting tips for a simple first crop at home.

Grow Here Editorial
Horticulture & Living Desk

Microgreens are young edible seedlings harvested shortly after the first leaves develop. They are popular because they grow quickly, need little space and can fit on a kitchen shelf or windowsill. A successful first crop depends on clean trays, suitable seed, even moisture and enough light.
Microgreens need adequate air circulation and clean trays to prevent damping off and mold. Never let trays sit in stagnant water after the initial blackout germination phase.
Choose seeds intended for growing
Use untreated seed from a reputable source, ideally sold for sprouting or microgreen use. Popular beginner choices include radish, broccoli, mustard, pea shoots and sunflower. Different crops germinate at different speeds, so grow one variety per tray at first.
Use a shallow tray with drainage
A shallow growing tray is easier to manage than a deep pot. You can use a clean seed tray with drainage holes placed inside a solid catch tray. Fill it with a thin layer of clean seed-starting mix or another medium recommended for microgreens.
Sow evenly, not deeply
Microgreens are usually sown more densely than mature garden plants. Spread seed as evenly as you can so seedlings do not form thick clumps. Press them gently onto the moist surface and follow the seed supplier's guidance about whether the variety should be lightly covered.
Keep germination evenly moist
During germination, the goal is moisture without waterlogging. A light mist can help settle small seeds, while bottom watering becomes useful once roots are established. Avoid leaving trays in standing water for long periods.
Give seedlings enough light
After germination, move the tray to strong light. A bright window can work for some crops, but a simple grow light often produces straighter, more even growth. If seedlings are stretching and leaning heavily, they likely need stronger or more balanced light.
Improve airflow
Dense seedlings stay humid, so gentle airflow helps leaves dry and can reduce problems. Do not blast the tray with a strong fan. Keep the growing area clean and avoid crowding multiple wet trays tightly together.
Water from below when possible
Once roots reach the bottom of the growing layer, adding water to the lower tray can keep leaves drier. Pour away excess water rather than leaving the roots submerged. The exact frequency depends on temperature, tray size and crop.
Know when to harvest
Many microgreens are harvested when the first true leaves begin to appear, though timing varies. Use clean scissors and cut above the growing medium. Harvest only healthy growth and discard anything with an unusual smell, visible mold or signs of decay.
Store and use them simply
Freshly cut microgreens are best used quickly. If you wash them, dry them thoroughly before refrigeration because excess moisture can shorten storage life. Add them to sandwiches, salads, eggs, grain bowls or soups just before serving.
Reset the tray after harvest
Most microgreen trays are treated as a single crop. Compost or discard the spent root mat, wash the tray thoroughly and start again. Keeping the process clean between batches is one of the easiest ways to improve consistency.
Frequently Asked Questions
Related Guides to Explore
Grow Here Editorial
Horticulture & Living Desk
Curating practical, evidence-backed advice for greener homes, sustainable systems, and intentional daily living across Grow Here.
Related Stories

Autumn Pollinator Pots: Plan Flowers for a Small UK Garden
Build a practical late-season flowering plan using container size, exposure and overlapping bloom periods rather than a shopping list.

Balcony Wind Protection for Plants: A UK Decision Guide
Work out whether moving pots, changing plants or an approved permeable screen is the right response to an exposed balcony.
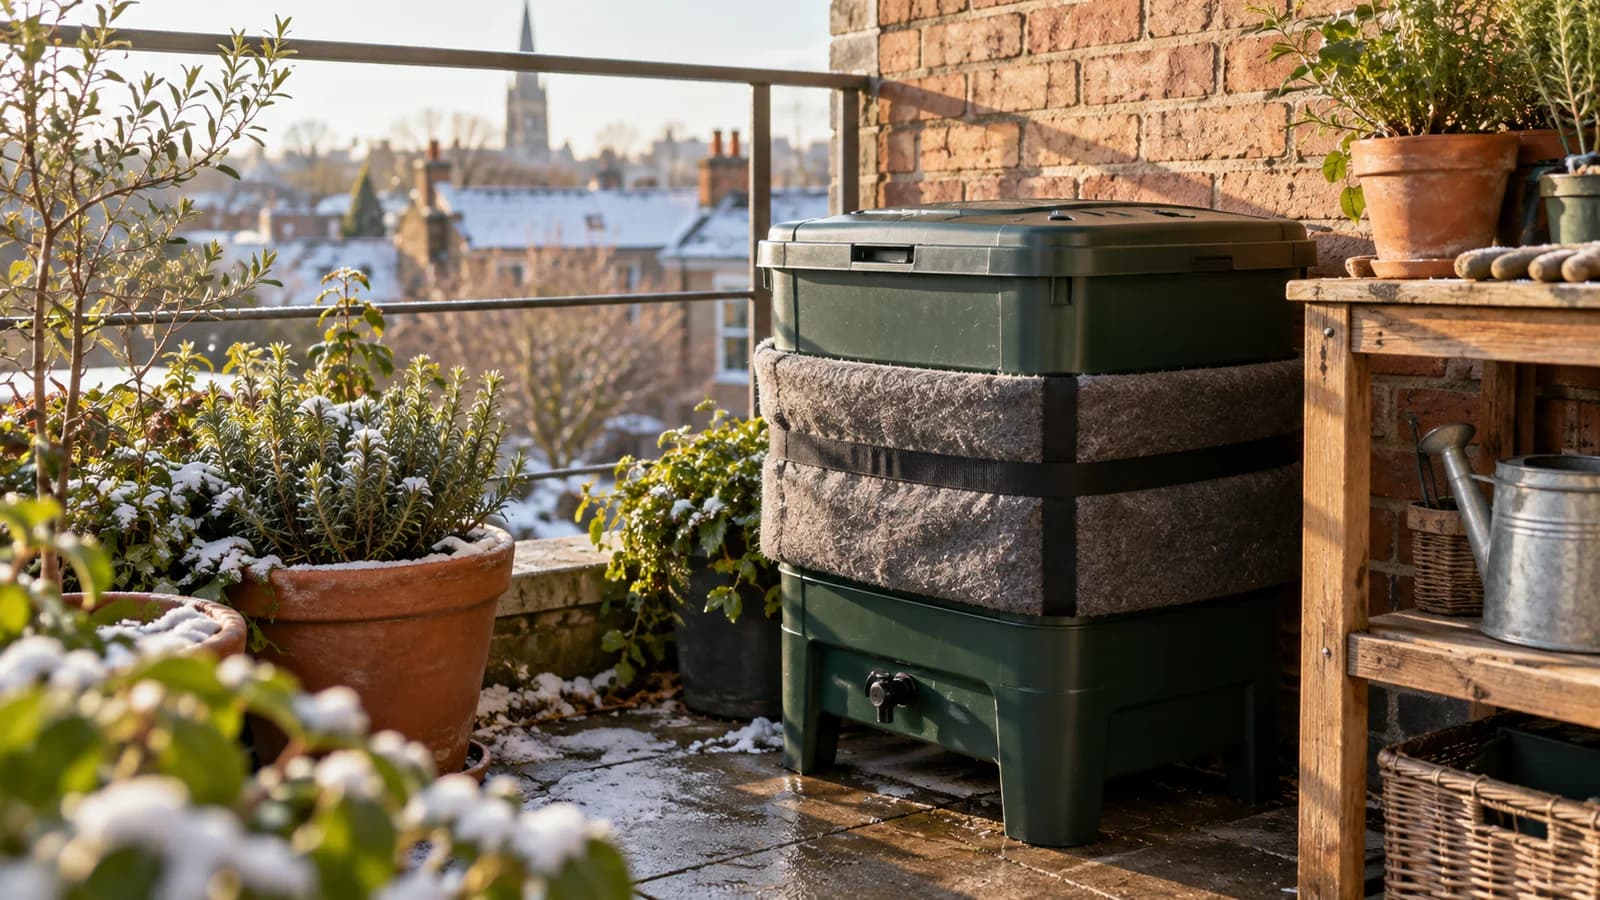
A Balcony Wormery in Winter: Is Your Setup Suitable?
Check shelter, food input, maintenance and a backup waste route before starting or overwintering a wormery in a UK flat.